Showing posts with label sweet. Show all posts

Saturday, November 3, 2012

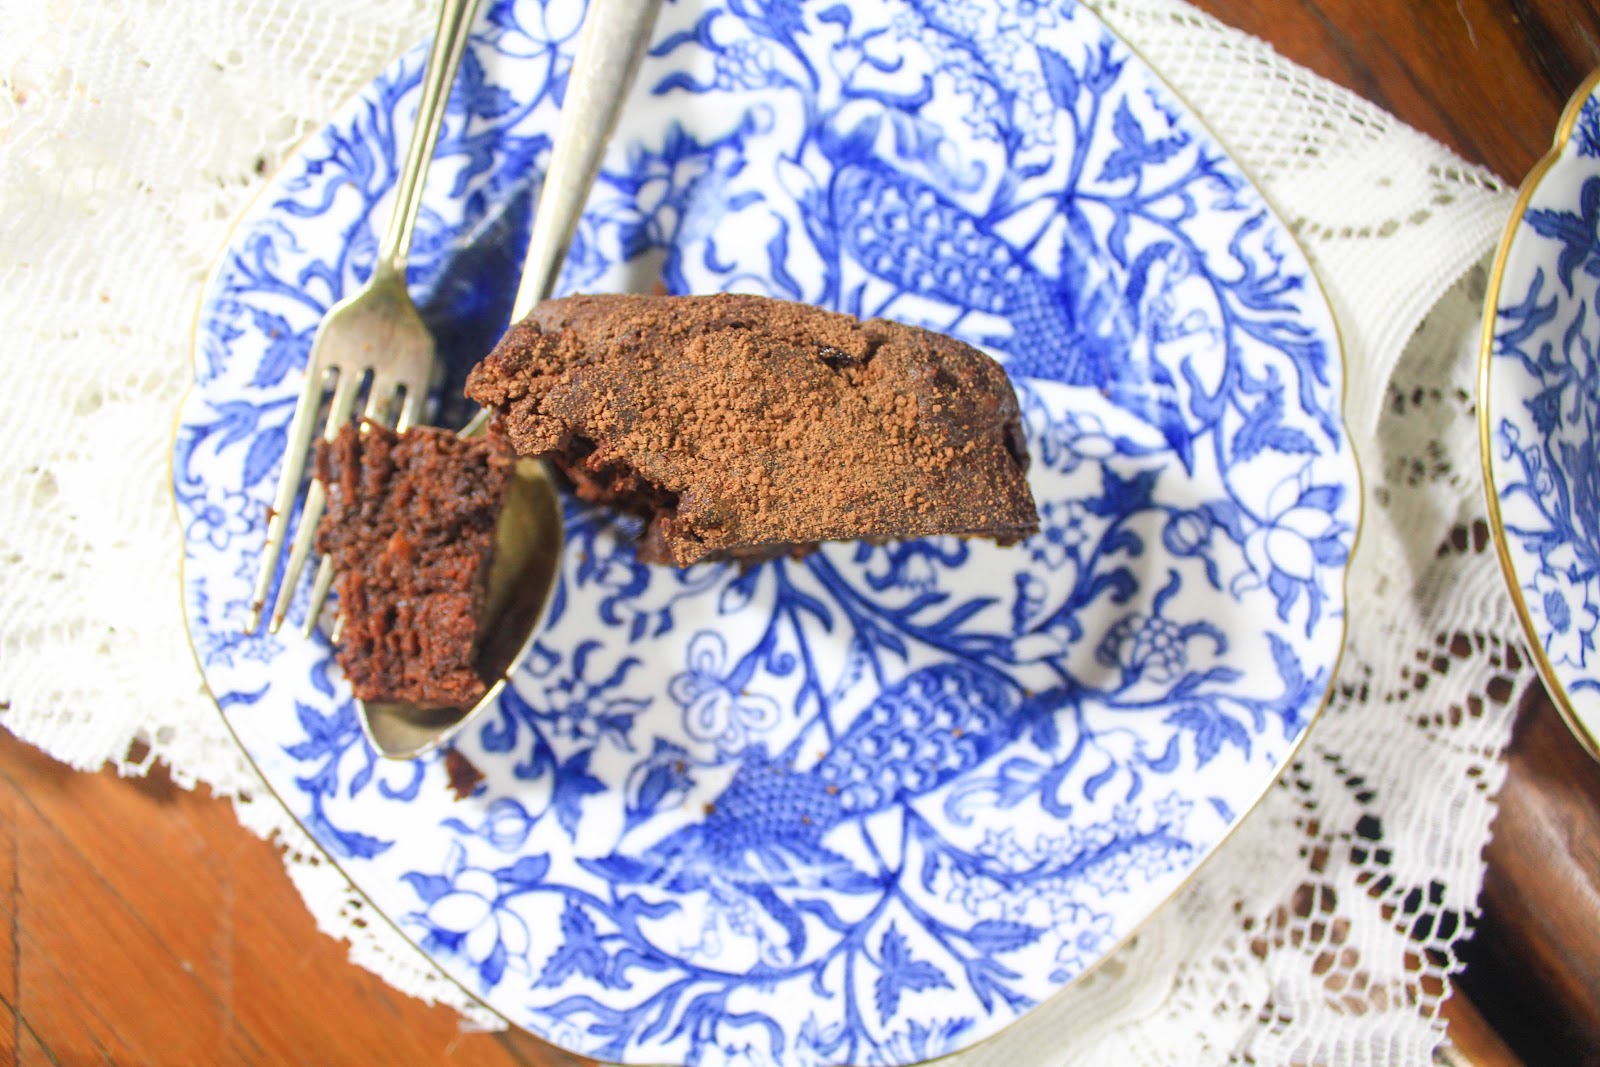
orange almond cake


Finally on the mend and back at work with only a lingering cough. Being sick is just the worst, and I was definitely very miserable.

Feeling better means I'm back in the kitchen but still feeling like something pretty simple and basic, I whipped up this orange almond cake. I can't take any credit for the recipe as I picked it up in a cookbook somewhere, the name and place evades me.


I found this cake to be just so moist and flavoursome, holding its form perfectly even with no flour. I shared with my family who was also surprised at the moistness of the cake.

I didn't have almond meal, but had plenty of almonds on hand, so I processed 200 g in the food processor until fine.


Ingredients

(serves 8-10)

2 oranges
1 1/2 c almond meal (or 200g almonds ground)
6 eggs, lightly whisked
1 tsp bi-carb soda
1/2 c raw sugar

Heat oven to 160 C and line a spring form cake dish with baking paper
Place oranges in a pot and bring to the boil.
Simmer for 45 minutes, drain and cool.
Place in a food processor and blend until smooth.
Fold in almond meal, eggs, sugar and bi-carb gently.
Pour mixture into the tin and place in oven to bake for 45-50 minutes (until firm).
Remove from oven and cool.
Serve and enjoy.

Saturday, September 29, 2012

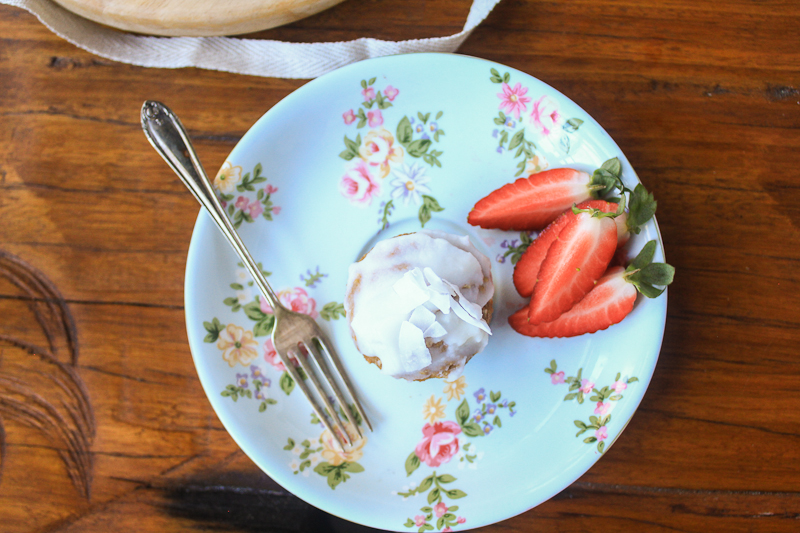
carrot cake muffins


Hooray, the days are reaching summer proportions. It felt like the coldest winter ever, but we seem to be on the other side of it now and I'm looking forward to spending time at the beach.

Anyway, to celebrate the dramatic weather change, I decided to do some baking. I know, crazy.. why would you turn the oven on in 30C+ weather? Because I wanted some carrot cake, that's why.


I whipped these up, left them to cool then took a plate to my parents place to share. Because what better way to celebrate (and test) than to share. 

Mum said that the muffin was delicious. She even closed her eyes as she ate saying 'you better make sure you put in your blog that your mum loved these'. Done!

Dad said there's a real 'wang' to the icing before the coconut kicks in and that he loved the cake.

I told Joel what Dad said, and he started saying it. Great, now the word wang was being thrown around in reference to my muffins. Nice. Still, it didn't spoil the beauty of them!


Ingredients

(makes 12)

Cake
3 carrots, grated
1 c plain wholemeal flour
1 tsp bi-carb soda
1/4 c raisins
1/4 c walnuts, slightly crushed
1 tsp mixed spice
2 eggs, lightly whisked
1/4 c water
2 tblsp sugar
1/4 c coconut oil

'Icing'
2 tblsp creamed coconut, warmed
2 tsp water
1/2 lime, grated rind and juice
1 tsp agave syrup

Heat oven to 160C and line a muffin tray.
Combine all ingredients for the cake in a large bowl and mix until well combined.
Spoon a tablespoon size amount into each muffin hole in the tray.
Place in oven for 20-30 minutes until cake springs back to the touch.
Remove and cool entirely.

Assembly
Combine all ingredients for the icing in a small bowl until well combined.
Using a butter knife, spread the mixture over the cooled muffins.
Enjoy!


Wednesday, September 19, 2012

vegan apple pie


Okay, okay, okay, so my craving for apple pie was not entirely quenched by the tea that I came up with the other day. It kept coming to mind that I just wanted to enjoy a real, warm apple pie - and I finally gave in.


Joel hovered the whole time that I was making this. I've never seen him so interested in something that I am making. He would just wonder into the kitchen, sip on his beer and say 'mmm I love pie'.

The smell that filled the house was this warm, caramely rich and deep appley cinnamon smell that made it hard not to dig in as soon as the pie came out of the oven.

To top off this evening, a book that I have been eyeing off for over a year now has finally been released. I have it downloaded on the kindle app on my ipad ready to go.

So, I am going to love and leave you as I have a date with a book and some pie.


Ingredients

(makes 6-8 slices)

Pastry
2 c white spelt flour
1 tblsp fine sugar
3 tblsp non-dairy butter
45 ml iced water

Filling
4 apple (skin on), cored and sliced 1cm
1/4 c currants
1 tsp vanilla essence
1 tsp ground cinnamon
1 tblsp water

Pastry
In a medium sized bowl combine flour, sugar and salt.
Rub butter into flour until it resembles fine bread crumbs.
Create a well in the middle and slowly add water, cutting it in with 2 forks. 
Add enough water for the pastry to come together without being sticky.
Roll into a ball and refrigerate for 30 minutes.
Cut 1/4 of the pastry out and place back in the refrigerator.
Roll out the 3/4 of the pastry between two baking paper sheets.
Remove one side of the paper and invert into baking dish, press down and slowly remove the top sheet.
Trim off excess pastry and use to fill in any gaps.
Using a fork, poke holes in the pastry and place in oven for 20 minutes until golden.
Remove and cool.

Filling
While the pastry is in the refrigerator cooling, start the filling.
Combine all ingredients in a medium sized pot and heat on medium for 20 or so minutes until apples are softened.
Remove from heat and cool.

Assembly
Fill the pastry dish with apples.
Then, roll out the final 1/4 of pastry and cut into 2cm strips.
Lay each strip down diagonal, about 3cm apart down the length of the dish.
Repeat in the opposite direction.
Return to oven to bake for a further 20 minutes until golden.


Wednesday, September 5, 2012

dairy-free lamingtons


Lamingtons were a childhood favourite of mine.

They are one of my first baked treats that really worked out well for me, every time. From about the age of 13/14 I loved being in the kitchen baking. I have fond memories of hanging out on the bench helping mum while we made ANZAC cookies.
When I got the gist of baking on my own, most afternoons after school I would be straight into the kitchen and browse through my favourite cookbook of all time – Woman's Weekly ‘Sweet Old Fashioned Favourites’. The go-tos would be: Devil’s Food Cake, Vanilla Slice, Coconut Ice, ANZAC Cookies and of course Lamingtons.


Now that I am older and my tastes have changed, I find myself baking less and less. But I was feeling nostalgic and decided to come up with a dairy-free, low-gi option for one of my all-time favourite homemade bakes.

I was amazed at how similar to the old version these were! The main difference was the coconut sugar in the sponge as it added a deeper rich caramel flavour. Yum!


Ingredients

(makes 12)

Sponge
3 eggs
1/2 c coconut sugar
1/2 c self raising flour
1/2 tsp bi-carb soda

Icing
1/2 c cocoa powder
1/4 c agave syrup
1/8 tsp stevia powder
1 tblsp cocoa butter
1 tblsp creamed coconut or coconut oil
1 vanilla bean, scraped
1/4 c water
tiny pinch of salt

chipped coconut

Sponge
Heat oven to 150 degrees and line a 9"x12" baking dish with baking paper.
Beat eggs in a medium bowl until thick and creamy.
Slowly add coconut sugar until well dissolved.
Next, slowly fold through sifted self-raising flour and bi-carb soda.
Pour mixture into the dish and bake in oven for 20 mins.
Remove from oven and cool completely.

Icing
Bring a saucepan to boil, half filled with water.
Next combine all ingredients for the 'icing' in a small bowl and stir constantly over the boiling water until butter is melted.

Assembly
Slice sponge into small squares.
Dip each square into 'icing' then roll into the chipped coconut and place on a plate.
Repeat the process for all the squares and place the plate in the refrigerator to cool.
Store in an airtight container in the refrigerator for up to a week.

Friday, August 17, 2012

walnut, chia and rhubarb cookies

I’ve been utilising the dehydrator a bit more lately, can you tell?

This time is a fruity healthy cookie cracker. Gluten-free, grain-free, dairy-free, vegan, no added sugar, low-gi, mostly raw.. they are the perfect on-the-go snack.


Joel says they are more like fruit crackers than cookies. But I think he had greasy, buttery cookies on his mind when I produced these for him to try.
His verdict: they are really tasty, but you spend the next couple of minutes picking chia seeds out of your teeth.
I know this would bother him, because, Joel is a minimal effort kind of guy when it comes to food. He won’t eat muesli because it takes too long to chew. Yep, he is a different sort.

These ‘cookies’ (and I use the term loosely) are an impromptu idea I had to use up a bunch of rhubarb that was sitting in the refrigerator.

What?! Use up rhubarb! Like it is some kind of space waster.
It is not like that at all. Honest.

I love rhubarb, but because we are leaving in a couple of days for the snow (for a week) and I couldn’t justify baking it into something that would not keep – or that doesn’t travel well.

Alas! Dehydration.


Ingredients

(makes 20+)

1/4 c chia seeds
1 1/2 c water

1 bunch rhubard, chopped into inch long lengths
1 tblsp water

1 c walnuts, soaked for 12 hours and drained

2 bananas, mashed
1 tsp cinnamon, ground
1 tsp vanilla extract

Mix chia seeds and water and set aside for 20 mins so the seeds can activate.
Next, place rhubarb and water in a small pot and heat until the fruit is soft.
Remove from heat and cool.
Empty walnuts into a food processor and blend until smooth and creamy.
Next add the bananas, cinnamon, vanilla and rhubarb to the walnut mixture and process until well combined.
Then, gently fold through the chia seeds.
Line dehydrating trays with parchment or teleflex sheets.
Place a cookie cutter on the tray and spoon in 2 tblsp sized portions - or whatever will fit.
Gently remove the cookie cutter and repeat until the mixture is all used up.
Dehydrate on 40 C for 20 hours.


Monday, July 23, 2012

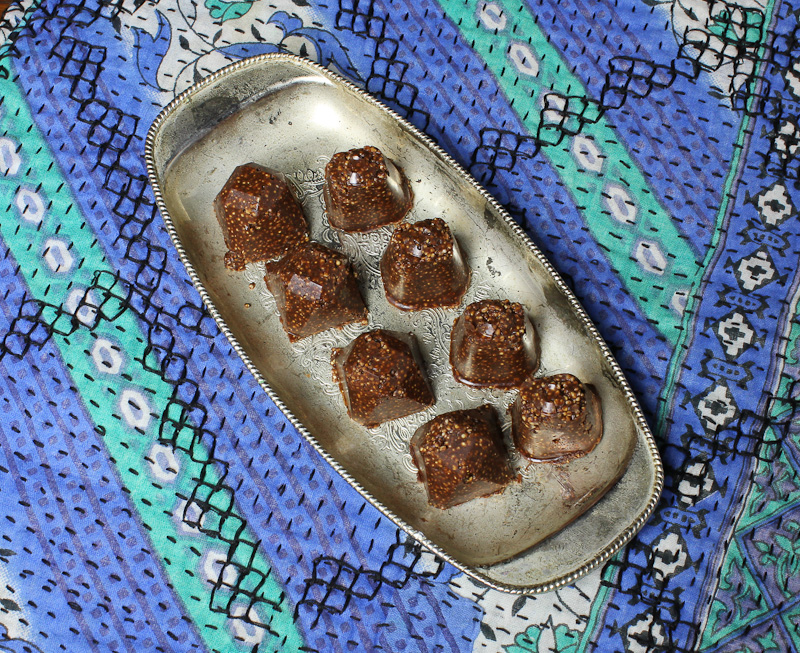
homemade chocolate with amaranth: vegan, low-gi


Homemade chocolate isn’t as difficult as you think it is. If you have all the ingredients available to you, it should take no more than 5 minutes.

Finding vegan chocolate is getting easier, but it’s still a bit of a challenge. Coupled with my love of making things from scratch, creating my own chocolate is a must.

Being the control freak that I am, I like to be able to tailor make my food to my tasting. If you haven’t been able to tell by now, I like to keep my desserts low-gi and not overly sweet.


I added a bit of coconut butter/oil to the recipe to stretch out the cocoa butter; this is where the mass producers would add in milk products.

I know cocoa butter is a bit dear, but it’s well worth the purchase. And a little bit goes a long way.

I’ve used the popped amaranth from my previous post to bulk out the chocolate, resulting in a bit of a ‘chocolate crackle’ adaptation.

This recipe turned out really tasty! Even Joel, who loves his ‘normal’ chocolate, was way on board devouring 4 portions in one sitting.
It’s sweetened just enough to offset the vanilla salt and with the roasted amaranth – yummm..

Other than the popped amaranth, this recipe is raw.


Don’t expect to be eating commercial chocolate when you nibble on a bit of this. I feel my this recipe is taking chocolate back to the raw basics and celebrating what makes chocolate real.

Ingredients

(makes 40)

1/4 c raw cocoa butter
1 tblsp coconut oil
1 tblsp creamed coconut

1/4 raw lucuma powder
3 tblsp raw cocoa

1 tblsp agave nectar
1 tsp vanilla extract
20 drops stevia (add more for desired sweetness)
1 vanilla bean, seeds
1/4 tsp vanilla salt

Melt cocoa butter, coconut oil and creamed coconut over warm water.
Meanwhile, combine amaranth, lucuma and cocoa powder in a bowl, mix together and create a well in the middle.
In the well pour remaining ingredients and slowly add the melted oils.
Stir thoroughly until all combined and spoon 2 tsp amounts into chocolate moulds or ice cube trays.
Set in the refrigerator to set for a couple of hours.
Then you should be ready to enjoy!
Store in the refrigerator for a couple of weeks.


Wednesday, July 11, 2012

coconut & elderflower mini muffins with creamed coconut: vegan, low-gi


We had a Princess party over the weekend for our friends 2 daughters.

When asking what I could bring, it was suggested that I bake a dairy-free cake.
If I ever make anything sweet, it's always low-gi. I only have low-gi sweeteners at home so it means I get to be creative.

But my biggest dilemma is what cake to make when your not a sweet tooth.


Hmm, coconut always goes down well - right?!

Not to mention my best friend took me out to an amazing local organic health store last week where I picked up some creamed coconut. This stuff is dangerously, unbelievably, insanely delicious. And the store.. well.. I'll be back.

But, what else to go in my mini muffins..

Swinging on the refrigerator door staring into the ice box, I was hoping something would jump out at me. Eventually I noticed my Elderflower concentrate.
I bought it ages ago, but not really being into cordials, it's just been sitting there.
Ding ding - add it to the coconut muffins for a refreshing floral kick.


Ingredients

(makes 24)

3 tblsp 'No Egg', egg replacer*
1 c water

Dry
1 c wholemeal spelt flour
1 c finely desiccated coconut
1 tsp bi-carb soda
1/4 lucuma powder
1/4 coconut sugar
1/3 mesquite powder

Wet
1 tsp vanilla extract
10 drops of stevia
2 tblsp coconut oil
2 tblsp Elderflower concentrate

creamed coconut
coconut chips

Heat oven to 150 C and spray a mini muffin tin with oil.
Whisk egg replacer and water together in a small jug, set aside.
Mix all dry ingredients in a large bowl, make a well.
Pour all wet items into the well, along with the 'egg' mixture.
In a circular motion, stir the ingredients until well combined.
Spoon 1-2 tblsp of the batter into the muffin holes.
Bake for 10-15 mins.
Turn onto cooling rack to cool completely.
Using a butter knife, spread 1 tsp of warmed creamed coconut over the muffins and sprinkle with coconut chips.
Place in refrigerator to cool - for at least 10 mins.

*If you didn't want to use egg replacer, you could use 3 eggs instead of the replacer and water.


I thought this would be a fitting post to put up, seeing tomorrow will be my birthday and what better way than to celebrate with cake!

xo

Friday, July 6, 2012

vegan fudge brownies - low-gi

Joel absolutely loves brownies – if made well and gooey.
I attempted build some for him a while back, but they didn’t quite turn out the way I’d hoped.
Round two and OH MY GOODNESS – amazing.


Not too sweet, rich and gooey, low-gi, grain-free, packed with healthy oils and best of all vegan!
Ordinarily I would have used eggs to bind the mixture together, but a few weeks back I picked up ‘No-Egg’, a gluten and dairy free egg replacer. Unopened and wanting to keep these brownies vegan, I decided to incorporate the egg replacement into the recipe. I was skeptical at first, but was pleasantly surprised with the result.


I love hiding vegetables and fruit in baked goods, it keeps the meal healthier, lower in fat and higher in fibre.
Not to mention, Joel does not like beetroot - like, at all. I’ve tried everything for him to eat this vegetable, but he is no fan. So, I hid a large beetroot in the mixture and he didn’t seem to notice! Score one for my sneaky beetroot endeavours.

I’ve also used Lucuma powder in this recipe to keep it nice and low-gi as this Peruvian health food has a super low gi index of 25.

Lucuma also contains 14 essential trace elements, including a considerable amount of potassium, sodium, calcium, magnesium, iron, beta-carotene, niacin and phosphorus. Phosphorus is important for bone and protein formation, digestion and hormone balance.

There are also studies to indicate that lucuma may have anti-inflammatory, anti-aging and skin-repair effects on human skin.

Ingredients

(makes 12+)

1 large beetroot, roughly chopped
1 large red apple, roughly chopped
¼ c water

Dry
2 c shredded coconut, pulsed in blender/processor until powdered
½ - ¾ c raw cocoa powder (depending on how rich you like your chocolate)
½ c mesquite powder
½ c lucuma powder
½ c coconut sugar
2 tsp bi-carb soda
40g vegan dark chocolate
pinch of vanilla salt

Wet
3 tblsp No-Egg, mixed in ¼ c water
½ - 1 tsp stevia (depending on sweetness)
1 tblsp vanilla extract
¼ c coconut oil
¼ c cocoa butter, melted

Heat oven to 180 C and line a 6” x 12” porcelain dish or brownie tin, with baking paper.
Place apple and beetroot along with water in a large pot – cook through until soft.
Cool, then empty contents into a food processor/blender and whiz until pureed.
Separately combine all dry ingredients in a large bowl and create a well in the middle.
In the well, pour in the wet ingredients along with the puree.
Stir in a rotational movement until well combined.
Scoop batter into the baking dish and place in oven for 40 mins – or until skewer is inserted and comes out clean.
Cool (if you can wait) and enjoy.


With just the two of us at home, we won’t get through these brownies in a couple of days, so I will be storing them in the freezer. Just pull them out to thaw about 1 hour before you’re ready to eat, good as new.

Sometimes, when that chocolate craving comes around, it’s good to have something on hand.