Friday, July 6, 2012

vegan fudge brownies - low-gi

Joel absolutely loves brownies – if made well and gooey.
I attempted build some for him a while back, but they didn’t quite turn out the way I’d hoped.
Round two and OH MY GOODNESS – amazing.


Not too sweet, rich and gooey, low-gi, grain-free, packed with healthy oils and best of all vegan!
Ordinarily I would have used eggs to bind the mixture together, but a few weeks back I picked up ‘No-Egg’, a gluten and dairy free egg replacer. Unopened and wanting to keep these brownies vegan, I decided to incorporate the egg replacement into the recipe. I was skeptical at first, but was pleasantly surprised with the result.


I love hiding vegetables and fruit in baked goods, it keeps the meal healthier, lower in fat and higher in fibre.
Not to mention, Joel does not like beetroot - like, at all. I’ve tried everything for him to eat this vegetable, but he is no fan. So, I hid a large beetroot in the mixture and he didn’t seem to notice! Score one for my sneaky beetroot endeavours.

I’ve also used Lucuma powder in this recipe to keep it nice and low-gi as this Peruvian health food has a super low gi index of 25.

Lucuma also contains 14 essential trace elements, including a considerable amount of potassium, sodium, calcium, magnesium, iron, beta-carotene, niacin and phosphorus. Phosphorus is important for bone and protein formation, digestion and hormone balance.

There are also studies to indicate that lucuma may have anti-inflammatory, anti-aging and skin-repair effects on human skin.

Ingredients

(makes 12+)

1 large beetroot, roughly chopped
1 large red apple, roughly chopped
¼ c water

Dry
2 c shredded coconut, pulsed in blender/processor until powdered
½ - ¾ c raw cocoa powder (depending on how rich you like your chocolate)
½ c mesquite powder
½ c lucuma powder
½ c coconut sugar
2 tsp bi-carb soda
40g vegan dark chocolate
pinch of vanilla salt

Wet
3 tblsp No-Egg, mixed in ¼ c water
½ - 1 tsp stevia (depending on sweetness)
1 tblsp vanilla extract
¼ c coconut oil
¼ c cocoa butter, melted

Heat oven to 180 C and line a 6” x 12” porcelain dish or brownie tin, with baking paper.
Place apple and beetroot along with water in a large pot – cook through until soft.
Cool, then empty contents into a food processor/blender and whiz until pureed.
Separately combine all dry ingredients in a large bowl and create a well in the middle.
In the well, pour in the wet ingredients along with the puree.
Stir in a rotational movement until well combined.
Scoop batter into the baking dish and place in oven for 40 mins – or until skewer is inserted and comes out clean.
Cool (if you can wait) and enjoy.

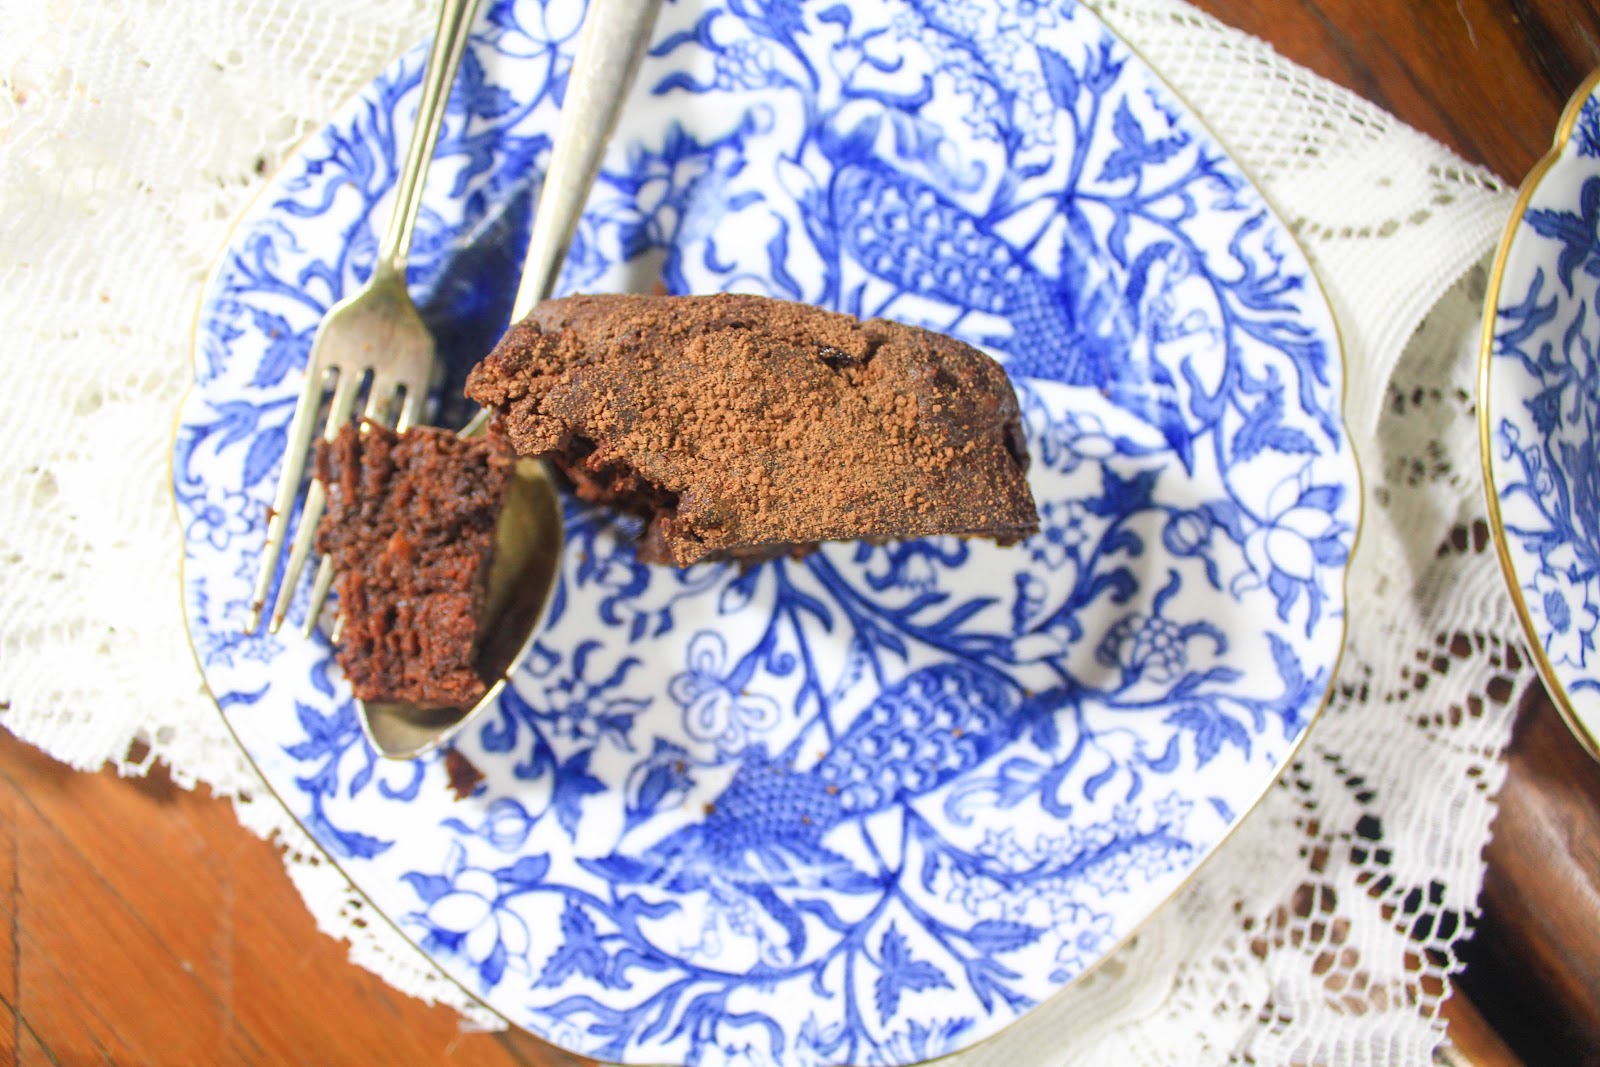

With just the two of us at home, we won’t get through these brownies in a couple of days, so I will be storing them in the freezer. Just pull them out to thaw about 1 hour before you’re ready to eat, good as new.

Sometimes, when that chocolate craving comes around, it’s good to have something on hand.

Tuesday, July 3, 2012

lupini beans: how to

I totally didn't know what I was getting myself into when I started soaking these beans.


Thinking they were just like any other dried legume it started with the usual soak, 12 hours. But when I went to look for a recipe that included the Lupini Bean, I quickly realised it was not going to be on the menu for dinner that night.


Similar to the process of preparing olives, this bean would need a lot of love and attention over the coming days.

With constant soaking in brine to draw out the bitterness, I was sure hoping it would be worth it.


The end result was unbelievably amazing.

It's like edamame beans crossed with olives.


These beans are high in fibre and protein and low-gi, so they make a tasty meal/side dish or eaten as is for a nutritional treat.

Ever since they've been ready, we've just been snacking on these beans by the spoonful.

Yum.
  

How To:

organic lupini beans
salt (heaps)
water

Soak the beans for 24 hours, drain.
Then, add the beans with a enough water to cover them and boil in a heavy based saucepan for 2 1/2 hours - topping up the water as needed.
Once boiled, strain and place in a large bowl.
Cover beans with water adding 1 tblsp of salt per 2 c water.
You will need to drain and replace the brine 2 times a day for about 3 or 4 days until all the bitterness is gone and the water is no longer yellowed.
Store in fresh brine in the refrigerator for about 2 weeks.


If you have the time and patience to give these little delights a try, I sincerely hope that you do.

Monday, July 2, 2012

exciting news

Well, I am so excited.
I had set a goal and I’ve reached it.


Every morning when I wake up, I spend the first 15 minutes of the day flicking through the foodgawker app on my ipad. Because yep, I think about food from the second I get up.

Late last week I was doing the usual flick, flick, flick – making my way through the entries when… wha?! Back, back, back – oh my gosh!

I squealed, startling Joel awake – he was like ‘What? What is it? Is it the mouse again?!’
I shoved the screen in his face (pretty sure he couldn’t focus) and excitedly announced that I had my first post approved on foodgawker.com – he gave me a big kiss and said ‘yay, you did it honey’ and continued sleeping.

Thinking it was just a fluke, I didn’t want to say anything.

But, before we left for a quick trip to Canberra, I submitted my most recent post.
After the long drive back (5 hours), I logged into my blog and noticed that my hits for the pumpkin spice almond butter were 15 times the amount that I would usually get – weird.

Logging in to my foodgawker profile I quickly figured out why.

A second post had made it!

I did a dance (like an uncoordinated rain dance), Joel joined in and we jumped up and down cheering ‘yayyyy!’. Oh, we have a simple life..

Back to goals, when I started blogging I set a goal to get accepted on foodgawker.com. I really didn’t think it was going to happen for AGES!

I love setting goals and reaching them. But now that it has been reached, I am in the process of setting new goals.